Clarify the brief
A clear brief improves the quality of machine recommendations.
Adhesion troubleshooting
Poor label adhesion can come from label material, surface contamination, temperature, pressure or product shape. This guide helps identify what to check first.
Selection intent
Early labelling machine research is most useful when it turns a broad idea into a clear technical brief. The aim is to reduce assumptions before a machine is shortlisted.
The strongest enquiries explain the product, pack, label, output and line context together. This makes it easier to compare suitable routes and avoid generic recommendations.
A clear brief improves the quality of machine recommendations.
Pack handling, label material and site layout can affect cost and suitability.
Installation, training and spares are part of the buying decision.
Machine routes
Most projects start with the pack shape, label position, material and output. These are the core machine routes to compare before requesting a quotation.
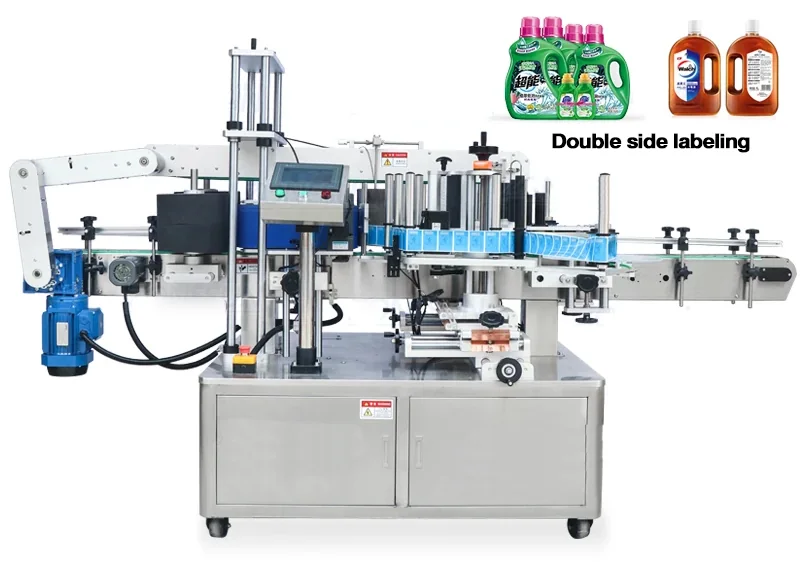
Best for established production where two labels need to be applied consistently in one pass.
Useful for smaller footprints, lower-volume production, trials and fast SKU changes.
Useful for flat packs, cartons, trays, sleeves and products requiring label application to upper and lower faces.
Quote preparation
Use the guide to collect the information that normally delays a quotation: pack sizes, label sizes, label material, output, available space and integration points.
When there is uncertainty, samples or short videos of the existing manual process can be more useful than a written description alone.
Related pages
These pages help connect the search route with machine type, application and buying guide intent.
Core checklist for quote preparation.
Main buying guide.
Compare machine families.
Send the brief to Lancing UK.
It is useful for production managers, operations teams, founders, contract packers and engineers preparing a labelling machinery enquiry.
No. The guide improves the starting brief, but unusual containers, clear labels and premium presentation projects may still benefit from sample testing.
Yes. Send the details through the contact form and Lancing UK can help compare suitable labelling machine routes.
Share the pack, label material, output target and any integration requirement. The team can help you compare the most suitable compact, automatic or top/bottom labelling route.
Upstream cause check
When adhesion changes during production, the labeller may be receiving a different pack rather than developing a new applicator fault. Compare the bottle at the label point with the approved trial condition.
Inspect the exact front and back panels for droplets, dampness or water released during conveyor movement. Define the dryness check at the labeller, not only at the dryer exit.
Check splash, product film, temperature and condensation. A stable filled bottle can still be unsuitable for pressure-sensitive labelling if the usable panel is contaminated.
Check whether the closure changes bottle handling or causes product to reach the panel during transfer. Confirm guide and hold-down clearance with the fitted component.
Use the before/after filling guide to review whether the process sequence is creating the adhesion fault.
Root-cause separation
Repeated adjustment is unlikely to solve an adhesion fault until the pack surface, label construction and application mechanics are checked independently.
| Edge lift immediately after application | Check panel curvature, wipe-down contact, label stiffness, adhesive suitability, contamination and whether the label is bridging a radius or recess. |
|---|---|
| Lift after storage or several hours | Review adhesive dwell, bottle and storage temperature, surface additives, label shrink or stiffness and the label supplier’s application conditions. |
| Failure on one bottle format only | Compare the exact moulding, resin batch, surface finish, panel flex, seam position and cleaning history with a known-good format. |
| Failure only at higher line rate | Check reduced wipe-down time, pack movement, product gap, web acceleration, downstream contact and whether the label is scuffed before the bond develops. |
| Failure after rinsing, filling or capping | Inspect for water, condensation, product splash, closure leakage and altered handling at the actual label point. |
| Random bubbles or wrinkles | Check trapped air, panel shape, label presentation angle, wipe-down pressure, web tracking and pack stability before changing adhesive. |
Use the plastic bottle labelling guide to qualify panel rigidity and surface condition, then use the sample-trial process to repeat the fault under controlled conditions.