Camera position
Choose a view that is not blocked by side belts, guides, wipe-down rollers or another product. The pack must be presented consistently.
Inspection integration guide
How to specify finished-pack checks, camera views, conveyor tracking and reject behaviour for front, back and multi-face label applications.
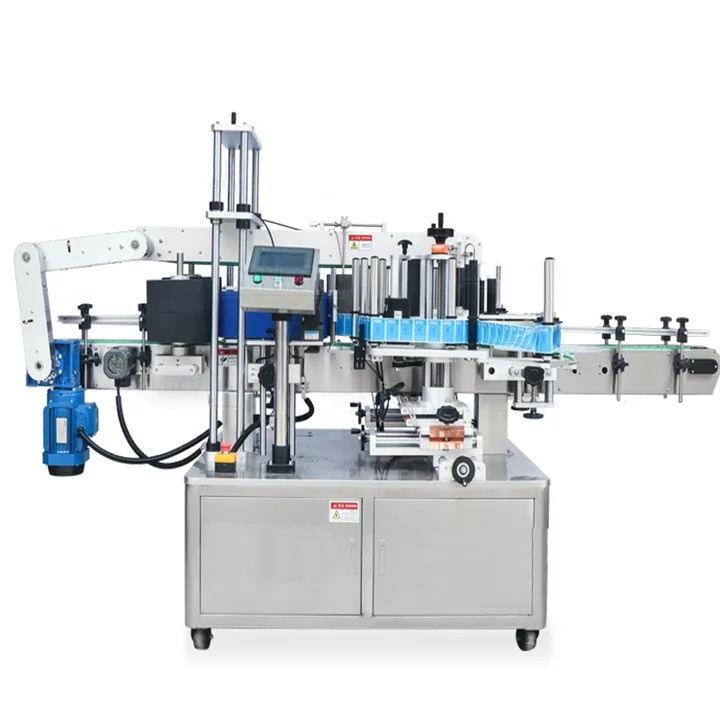
Product and label sensors control the application sequence, but they do not necessarily prove that the finished pack carries the correct label in the correct position. A camera or barcode-verification stage can be added where the project requires more evidence than a simple label-present signal.
The inspection scope should state exactly what is to be checked. Depending on the selected equipment and image quality, a system may be configured to assess label presence, position, orientation, artwork identity, barcode readability or printed data. Each function needs its own acceptance criteria and representative reject samples.
| Label-presence sensor | Confirms an event or label response at a specific point. It is useful for machine control but may not assess the completed pack. |
|---|---|
| Camera presence/position check | Uses a defined field of view and reference to assess whether a label is present and within the programmed position window. |
| Artwork or variant check | Compares visible features or a code to the expected product recipe. Lighting, print variation and pack presentation must be controlled. |
| Barcode verification | Checks the configured barcode type and reading requirement. It should be distinguished from a simple successful scan. |
| Printed-data inspection | May check presence or legibility of date, batch or variable data where the print method, contrast and camera resolution support it. |
Inspection architecture
Front and back labels are normally inspected from different viewing angles. One camera may not have an unobstructed view of both faces.
Choose a view that is not blocked by side belts, guides, wipe-down rollers or another product. The pack must be presented consistently.
Glossy film, clear labels, metallic effects and curved bottles can create reflections. Trial the final pack under controlled production lighting.
The camera needs a reliable product trigger and a stable relationship to conveyor movement, especially where several packs are in the inspection zone.
The selected product recipe should coordinate expected labels, camera settings, code data and reject logic.
Agree whether the system only makes a pass/fail decision or also stores images, counts, reasons and production records.
Protect lenses and lights from contamination while keeping them accessible for cleaning, calibration and format changes.
Reject strategy
Where a project uses printed variable data rather than pre-printed labels, also review the specialist print-and-apply route and the coding and labelling guide.
Send the finished pack, artwork variants, code requirements, target line rate and the defects that must be detected. Lancing can review camera positions, conveyor tracking and reject interfaces as part of the line scope.
Inspection questions
Inspection scope should state exactly what is checked, when the decision is made and how a failed pack is removed and recorded.
No. Presence inspection asks whether a label is detected; position inspection asks whether the label lies within defined horizontal, vertical and skew tolerances. A pack can pass a presence check while the label is visibly misplaced.
Specify each defect class separately and use representative artwork, reflections and container variation when setting the camera acceptance window.
It may be possible with an appropriate camera arrangement, mirrors or multiple views, but both labels must be visible with sufficient resolution and controlled lighting. Pack rotation, curved panels and line obstructions can hide one face.
Confirm the field of view and defect detail using the real container rather than assuming one camera position can see both sides.
The control system must associate the inspection result with the same physical pack as it travels to the reject device. Tracking may use conveyor timing, encoder movement or product-count logic, depending on the line.
The acceptance test should include changing gaps, stops and closely spaced packs so a reject decision cannot be applied to the wrong container.
No. A camera or scanner successfully reading a code confirms that one read occurred under those conditions; formal barcode verification grades defined print-quality characteristics against the applicable standard. Decide whether the line needs presence, data comparison, readability or formal offline verification.
GS1 UK provides guidance on barcode review and verification.
2D code inspection
These checks are related but not interchangeable. The inspection specification should state which decision is required on every pack and which evidence is produced offline or during acceptance.
Confirms that a code-shaped feature or expected print area is present. It does not prove the content is correct or readable.
Reads the symbol and compares the decoded GTIN, batch, expiry, serial or URL data with the active job or expected format.
Tests whether the selected production camera or reader can decode the code under the configured lighting, distance, orientation and line conditions.
Grades defined print-quality characteristics against the applicable standard using suitable verification equipment and a controlled procedure.
The front/back labeller also needs to keep the code inside the approved pack area. Use the GS1 2D barcode label placement and verification guide to connect artwork, label position, print method, camera views and reject logic.