Container datums
Choose repeatable points such as a base, moulded edge or centreline. Avoid measuring from flexible or visually inconsistent features.
Pack design guide
How pack geometry, moulded features and surface condition define the usable front and back label area and the machine trial required.
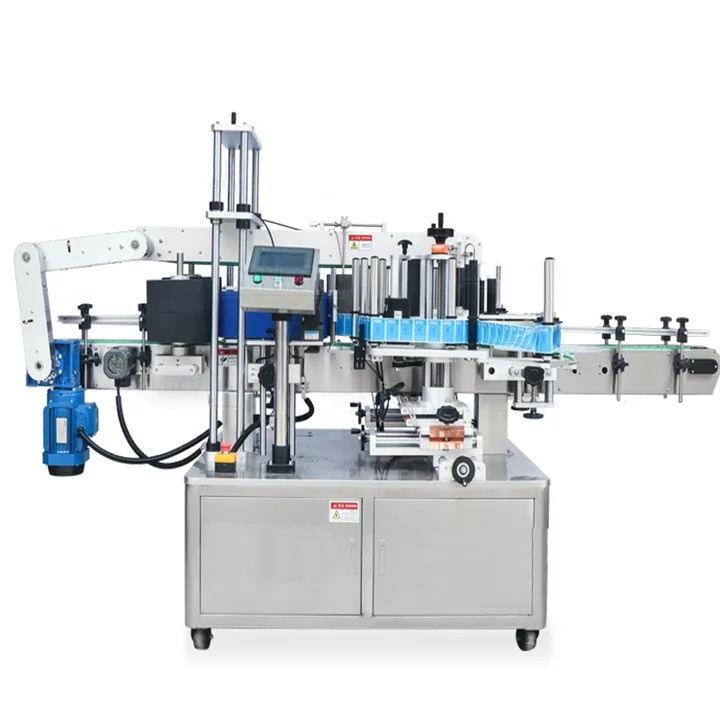
The labelable area is the part of the container that can accept the full label while it is dispensed and wiped down. Radiused edges, taper, ribs, embossing, mould seams and recessed panels reduce that area even when the overall pack dimensions look generous.
For front and back labelling, define each panel separately. The front face may carry a large branding label while the rear face has a smaller information label positioned around a seam, handle or moulded feature.
Container geometry
| Taper | A rectangular label may not follow a conical or changing circumference without skew, wrinkle or edge lift. Keep the label within a suitable band or review the artwork shape. |
|---|---|
| Panel radius | Labels placed too close to a sharp transition can bridge the radius or lift after application. |
| Recessed panel | The wipe-down device must reach the label surface without the surrounding rim blocking pressure. |
| Mould seam | A raised or irregular seam can show through the label, reduce contact or create a preferred bubble line. |
| Ribs and embossing | Raised features may interrupt adhesive contact and make dimensional placement difficult to measure consistently. |
| Flexible wall | Guide or wipe-down pressure can deform the pack, especially when empty or warm. Test the production condition. |
| Shoulder and heel | Curvature near the top and bottom of a bottle limits label height and can affect where side belts or hold-down devices contact. |
Drawing method
Choose repeatable points such as a base, moulded edge or centreline. Avoid measuring from flexible or visually inconsistent features.
Show width, height, orientation and the nominal distance from the agreed horizontal and vertical datums.
Mark radii, seams, handles, embossing, grip areas, windows and any surface that guides or belts must not cover.
Keep barcodes, small text and critical graphics away from edges or areas likely to curve, wrinkle or be obscured.
State whether the labels must align with each other, share a centreline or maintain a defined gap around the pack.
Define measurement direction, nominal position, allowed range and sample size rather than using a general “straight” requirement.
A drawing narrows the risk but does not reproduce the adhesive, liner, pack surface or wipe-down. Trial the final container and label construction at the intended application condition.
Use the placement accuracy guide to define measurement, the oval bottle guide for changing curvature and the tapered bottle page for conical packs.
Send a dimensioned container drawing, physical samples, front and back artwork and the final label construction. Lancing can review the usable panels and identify where a sample trial is needed.