Adhesion troubleshooting
Separate surface, adhesive and machine-contact causes.
Practical answer
Fresh labels are protected by removing unnecessary contact with labelled faces and validating the complete downstream route under real production conditions.
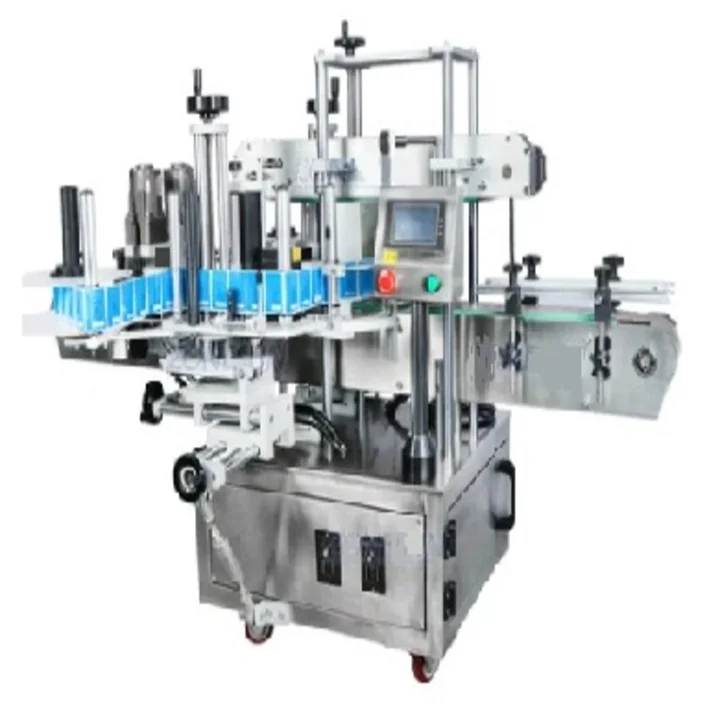
Scuffing often occurs after the label head, where a rail, belt, transfer edge, accumulation device or packing operation contacts the freshly labelled panel. The complete downstream route is therefore part of the application assessment.
Mark contact points on the line layout and run representative starts, stops and accumulation conditions rather than judging only steady flow at the applicator.
Guide rails, side belts, transfer edges, accumulation pressure, star wheels, case packer guides and manual handling can rub the printed face or lift an exposed edge. Damage may occur several metres after the label head, so inspecting only the application point can miss the cause.
Trace each labelled face through the full route and mark every contact point on the line layout.
No. Sufficient progressive contact helps the adhesive meet the surface, but excessive pressure can distort flexible bottles, drag the label, mark the print or push air towards an edge. Pressure cannot correct an unsuitable adhesive, contaminated surface or label that crosses an abrupt radius.
Set wipe-down from the lowest stable condition and confirm placement and finish together.
There is no reliable universal time. Adhesive construction, bottle material, surface energy, temperature, moisture and downstream pressure determine how the label behaves immediately after application and later. The supplier of the label stock can advise on adhesive characteristics, but the line still needs an application-specific test.
Design out avoidable rubbing rather than relying only on a delay.
Run representative packs through normal speed, starts, stops, accumulation and packing. Inspect both labels at the application point, after each transfer and at the final collection point. Include the most vulnerable print or varnish and the pack orientation that puts a label face against a guide.
Record the first point where damage appears so the correction targets the actual contact.
| Contact point | What to observe | Possible design response |
|---|---|---|
| Wipe-down belt or brush | Drag, skew, print marking or trapped air | Adjust contact, speed relationship or application sequence |
| Guide rail | Continuous rubbing on one label face | Move contact to an unlabelled structural area where practical |
| Accumulation | Pack-to-pack pressure and sliding | Reduce back pressure or change accumulation method |
| Packing operation | Manual grip or machine guide over fresh edges | Change orientation, handling point or pack timing |
Related answers
Use the most relevant next page rather than treating one answer as the complete machine brief.
Separate surface, adhesive and machine-contact causes.
Map downstream transfer and accumulation contact.
Include the complete post-application route in the trial.
Send container photographs or drawings, both label specifications, the target output and details of the surrounding line. Lancing can confirm the most suitable machine route and the evidence needed for a sample trial.